
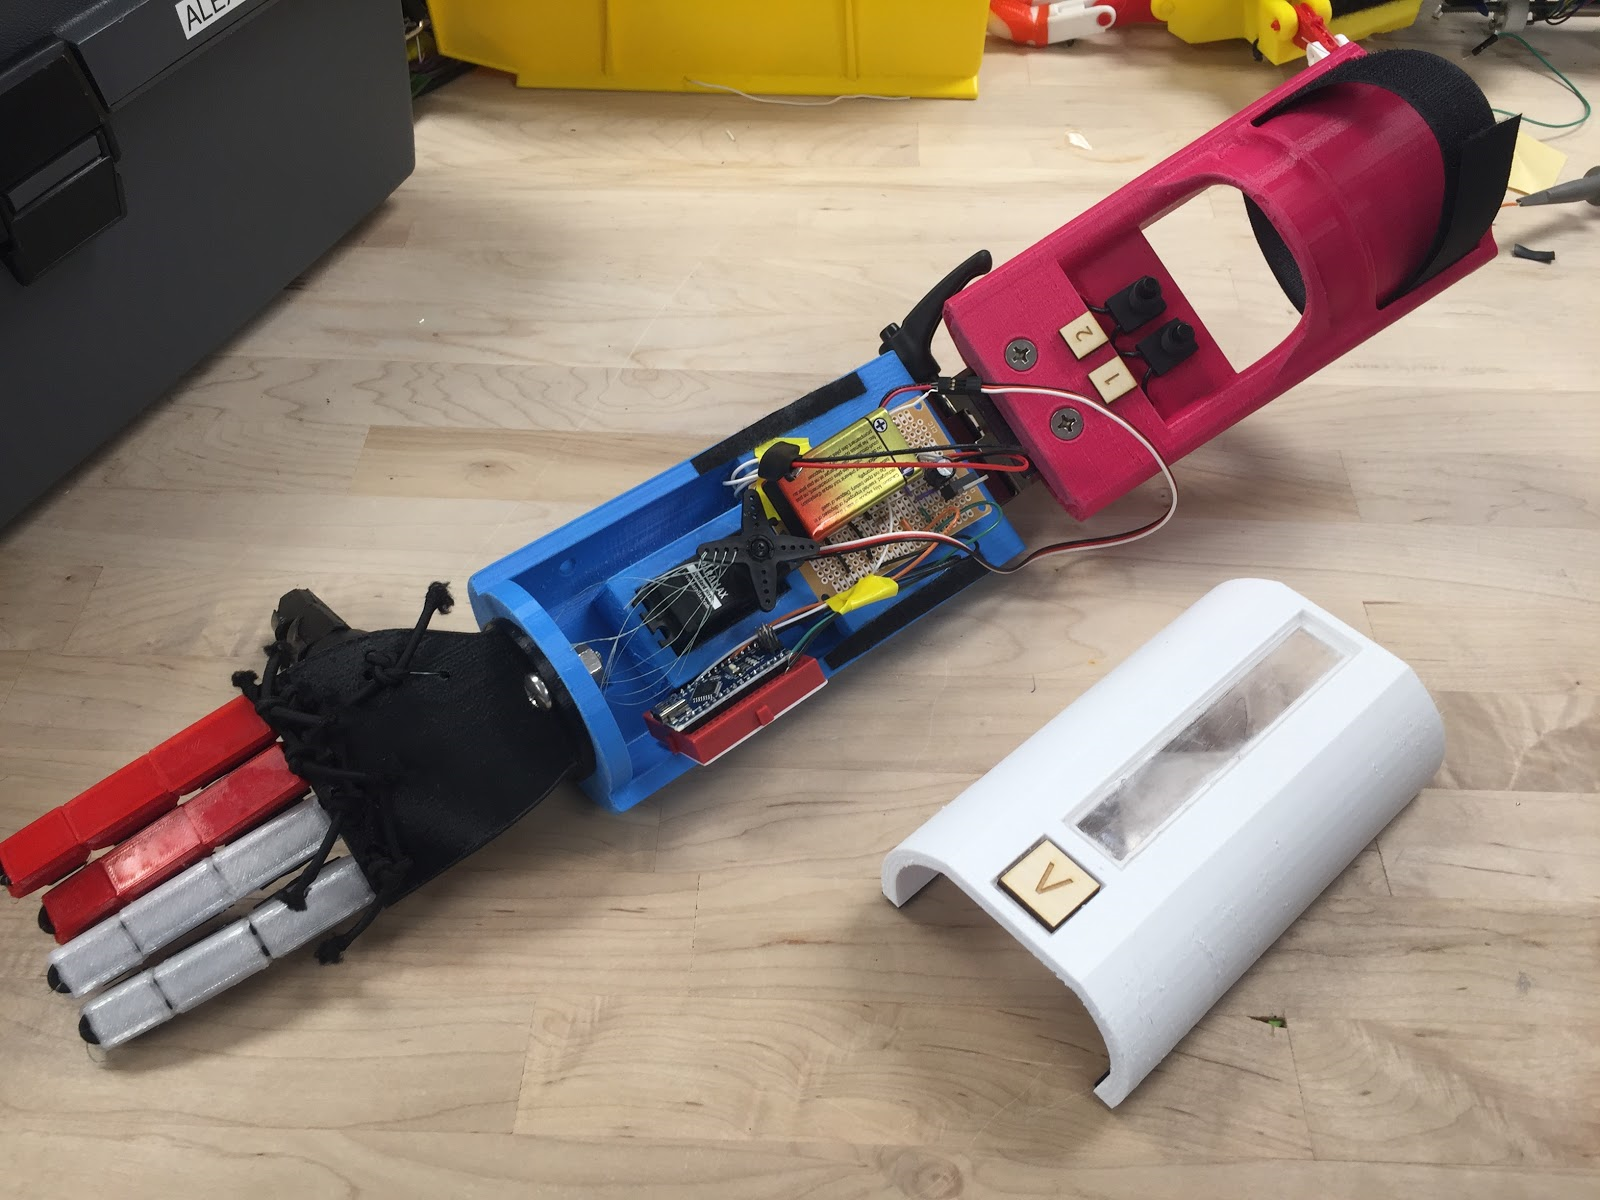
Complete Robotic Arm
3.0 Videos
Picking up a Water Bottle
Finger Functionality
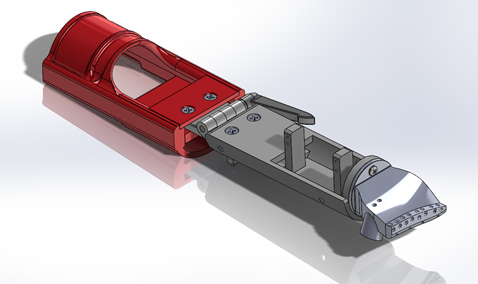
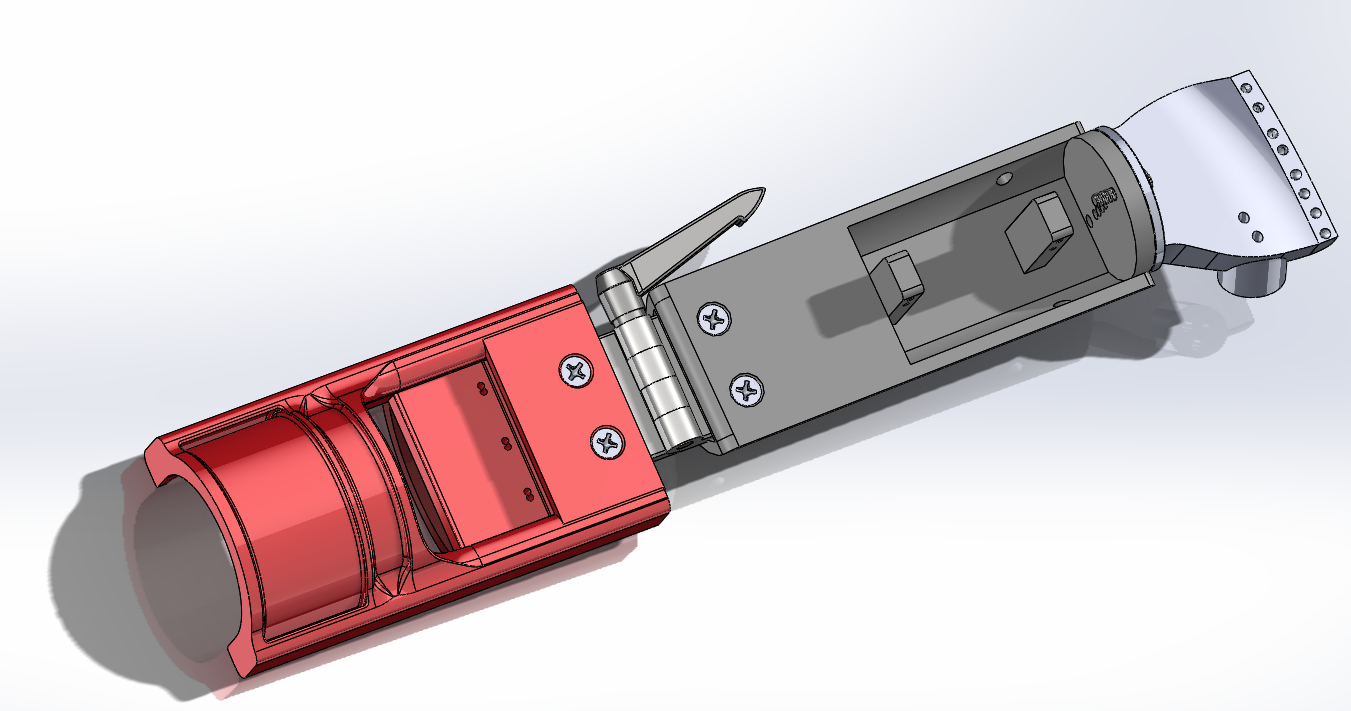
Solidworks Assembly Isometric View
Solidworks Assembly Back View
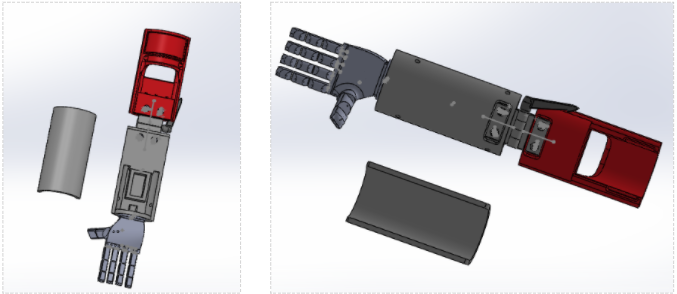
Solidoworks Top & Bottom View
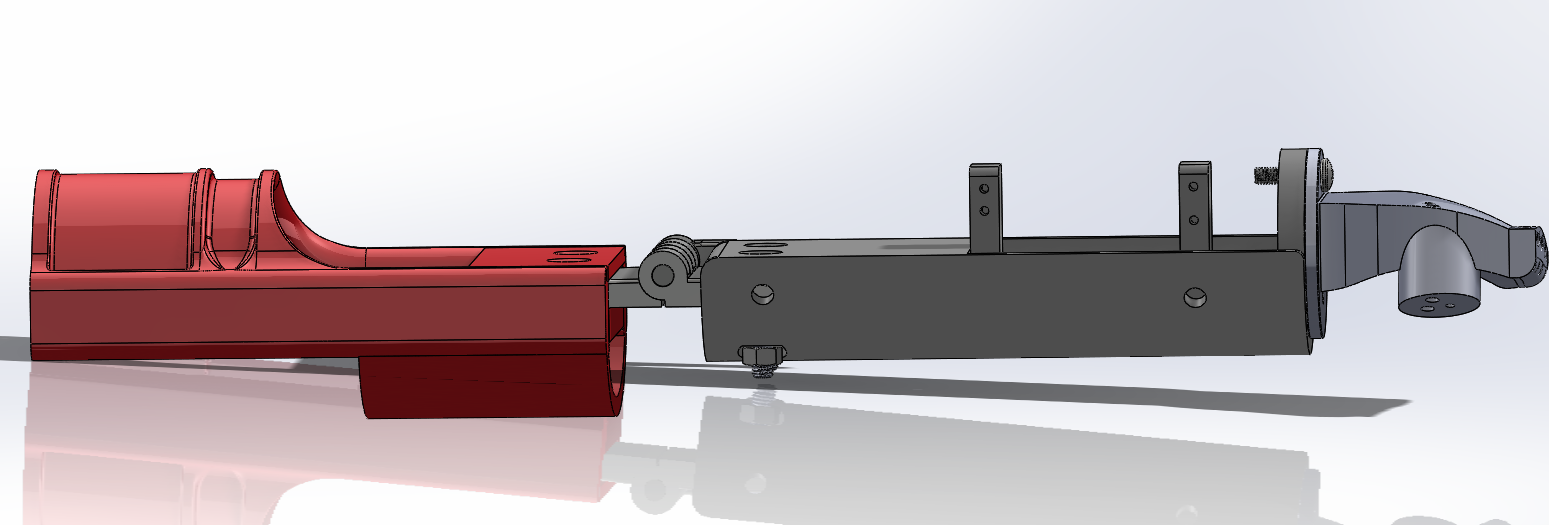
Solidworks Assembly Side View
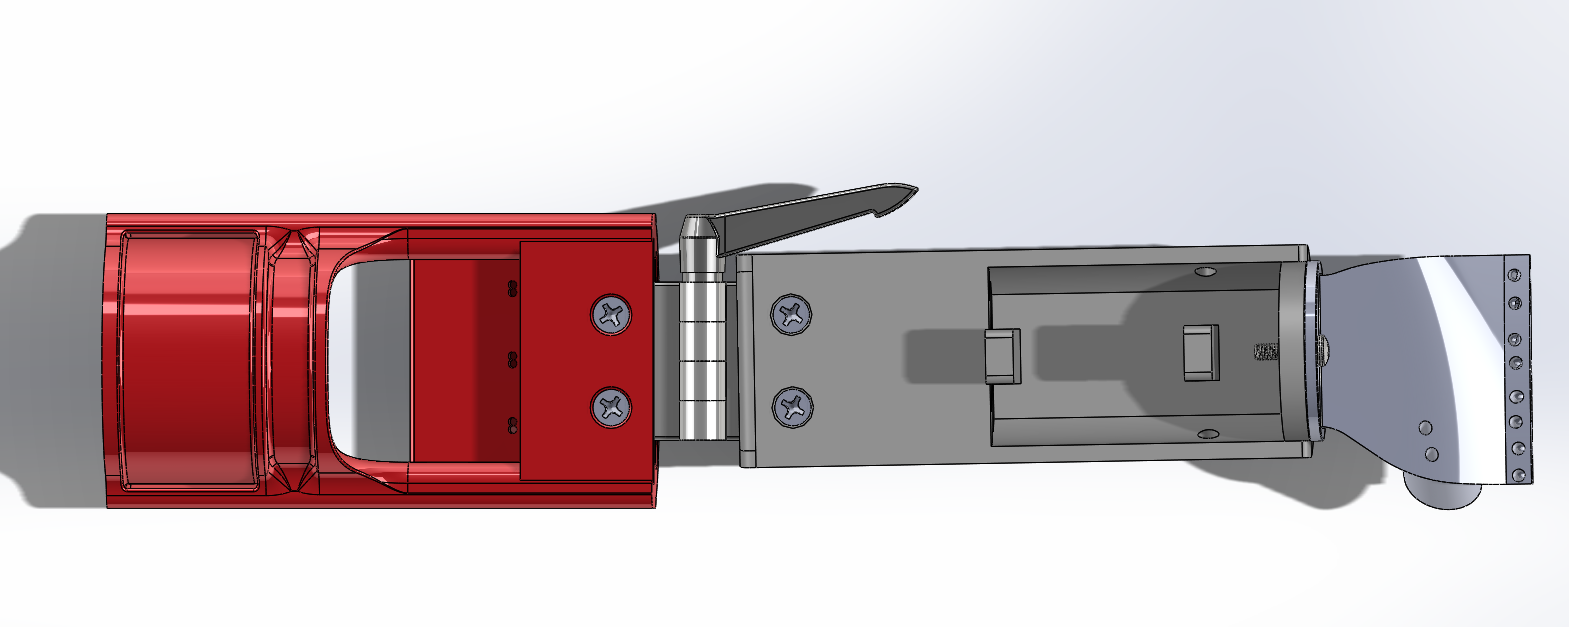
Solidworks Assembly Top View

The circuit used in conjunction with the Arduino Nano utilizes
two switches, a pullup resistor, and a high-torque servo motor.
The first switch (Sw1) attaches power (9V [not 5V] battery)
to the Arduino and servo motor.
The second switch (Sw2) connects A0 (3.3V) to the pull-up resistor,
which inputs 3.3V (or a binary "1") to the nano.
This signals the Nano to turn the servo motor 180 degrees.
All grounds are common.
NOTE: This is an updated/simplified circuit from the origonal circuit I made (the one seen in the images).
#include

Servo myservo;  // create servo object to control a servo

int flex = 0;    // flex position (0 degrees)
int extend = 180;   //extended position (180 degrees)
int servo = 9; //Servo on D11 (PWM pin)
int power = A0; //set A0 as 3.3V output
int go = A5; //A5 as input (goes from 0 to 1)
int state = 0; //state of activation (flexed vs. extended)
int delta = 0; //see if state has changed
int flexState = 0; //state variable to control if flexed or not


void setup() {
  myservo.attach(servo);  // attaches the servo on pin 11 to the servo object
  pinMode(servo, OUTPUT);    // sets servo pin as output
  pinMode(power, OUTPUT);    // sets A0 as output
  pinMode(go, INPUT);    // Sets A5 as discrete input
  digitalWrite(power, HIGH); //write power pin to high always
  myservo.write(extend); //ensure arm begins in extension
  myservo.detach(); //detach while not in flexion saves battery power
}

void flexion() {
  flexState = 1; //in flex state
   myservo.attach(servo); //attach servo object. WIll draw current when attached
   delay(100); //delay 100ms
   myservo.write(flex);              // tell servo to go to flex position (close hand)
   delay(1000); //allow servo to travel to position (1000ms)
   while (flexState == 1){ //loop to check if button has been pressed
    state = digitalRead(go); //set "state" to state of the latch (0= open; 1= closed)
    delay(100); //delay
    delta = abs(digitalRead(go) - state); //check for a change in button state
    if (delta > 0){ //if a change has occured
      flexState = 0; //exit flexed state
      delay(100); //delay
      extension(); //enter extension function

    }
    }
}

void extension() {
   delay(100); //delay 100ms
   myservo.write(extend); //stretch fingers back out
   delay(1000) ; //allow servo to travel (1000ms)
   myservo.detach();
   //detach so motor doesn't draw battery current in extension
//   doesn't need torque since its not holding anything
}


void loop() {
  state = digitalRead(go); //set "state" to state of the latch (0= open; 1= closed)
  delay(100); //delay 100ms
  delta = abs(digitalRead(go) - state);
  //if button has been pressed (state has changed), close the hand:
  if (delta > 0){ //if  button is pressed (latch button)
    flexion(); //call flex function
  }
}